WIFI PLUG - CONFIGURATION Insert your WiFi plug into wall socket: Flashes red while trying to establish a connection with the WiFi network.
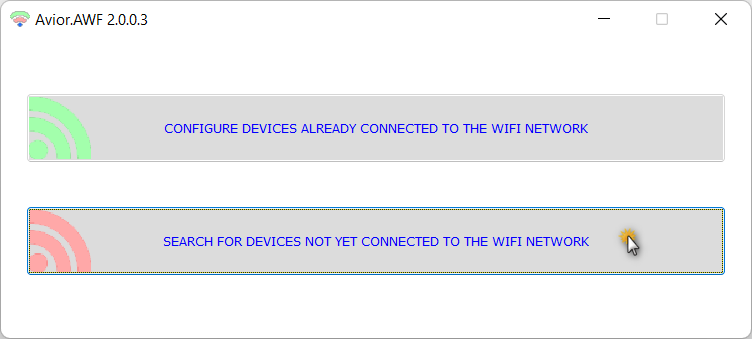
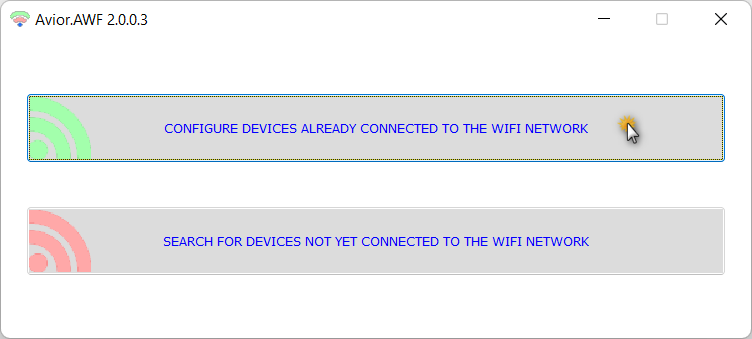
If the device was already registered in another network you will first need to reset to factory default: 1. Press the ⊕ button for 10 seconds ⇒ Flashes white 10 times. SEARCH FOR NEW DEVICES If you are using Avior.AWF software, click to search...
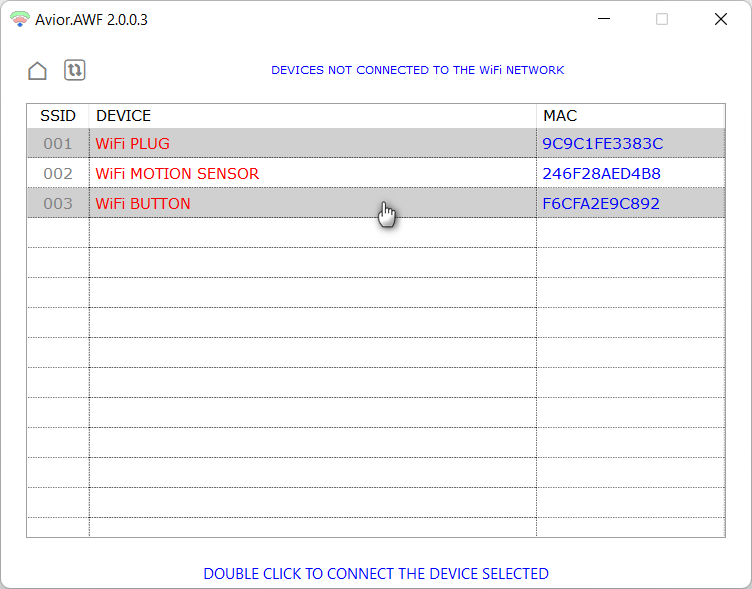
When the scan is complete you will be able to see the devices that are not yet registered in any WiFi network:
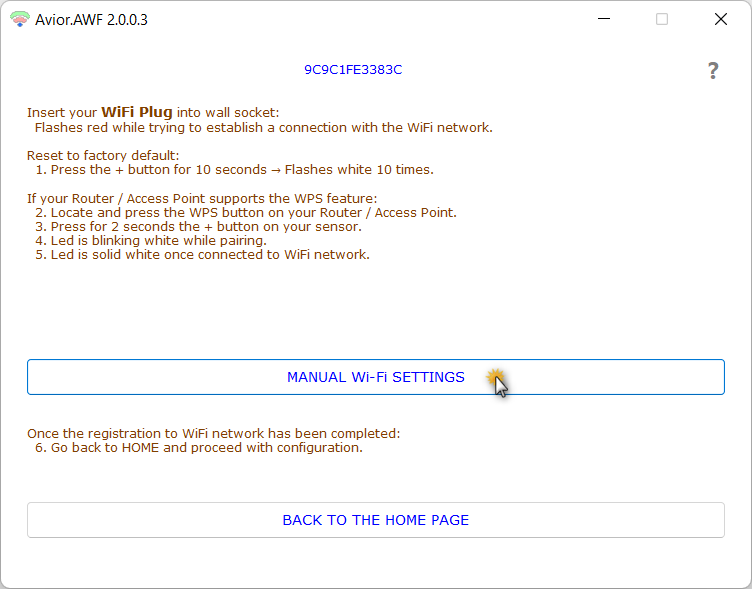
To identify the device to be configured look at the MAC address that is shown on the product or on its packaging, double click on it. REGISTRATION TO WIFI NETWORK If your Router / Access Point supports the WPS1 feature: 2. Locate and press the WPS button on your Router / Access Point. 3. Press for 2 seconds the ⊕ button on your sensor. 4. Led is blinking white while pairing. 5. Led is solid white once connected to WiFi network. If you prefer to manually configure access to the WiFi network:
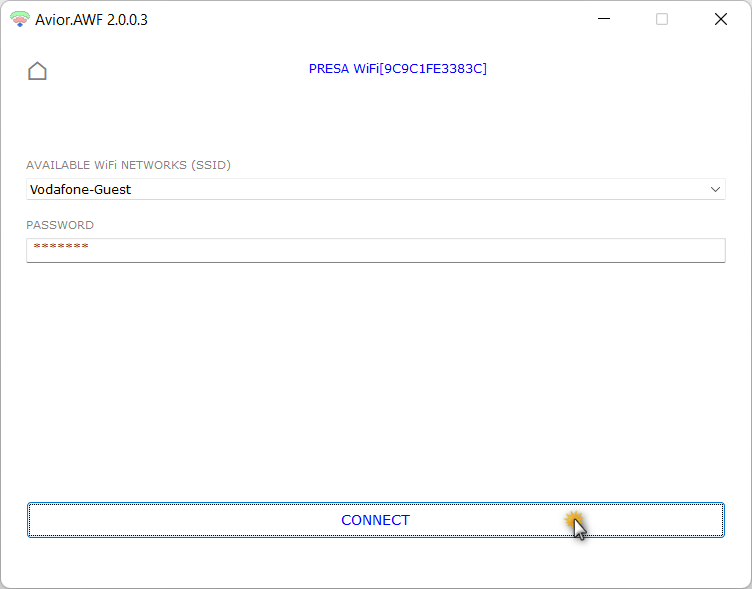
Select the SSID name, enter the PASSWORD and CONNECT.
Once the registration to WiFi network has been completed: 6. Go back to HOME and proceed with configuration.
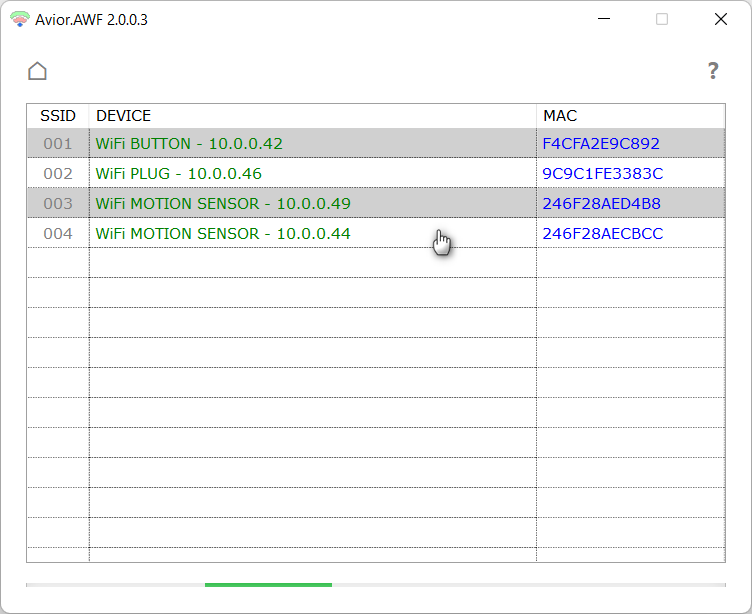
Click to show devices already connected to WiFi network.
To identify the device to be configured look at the MAC address that is shown on the product or on its packaging, double click on the corresponding line within the list.
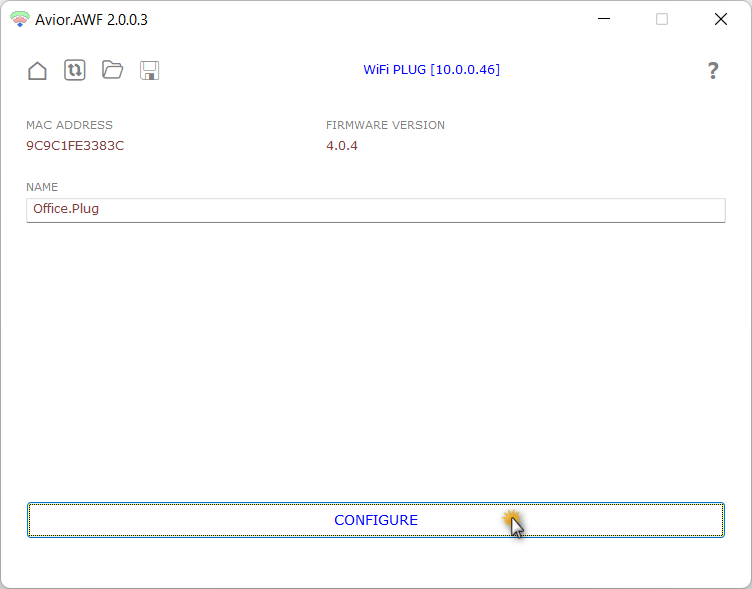
Set the name you want to assign to the plug and CONFIGURE The name you have assigned will automatically be used by Avior as well.
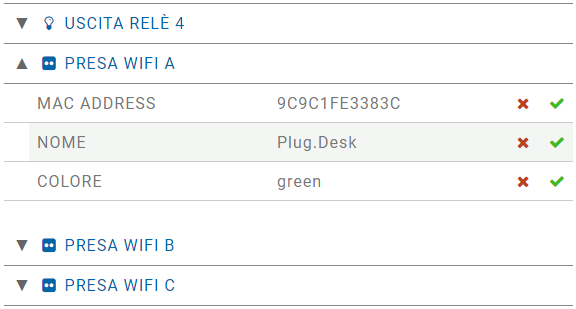
Add the WiFi plug by setting its MAC address in the Avior configuration. The name is read directly from the plug, you can still enter it if you have not assigned it or if you want to use a different one. Refer to WIFI PLUGS for details. 1 WiFi Protected Setup |
||||
Accessories